
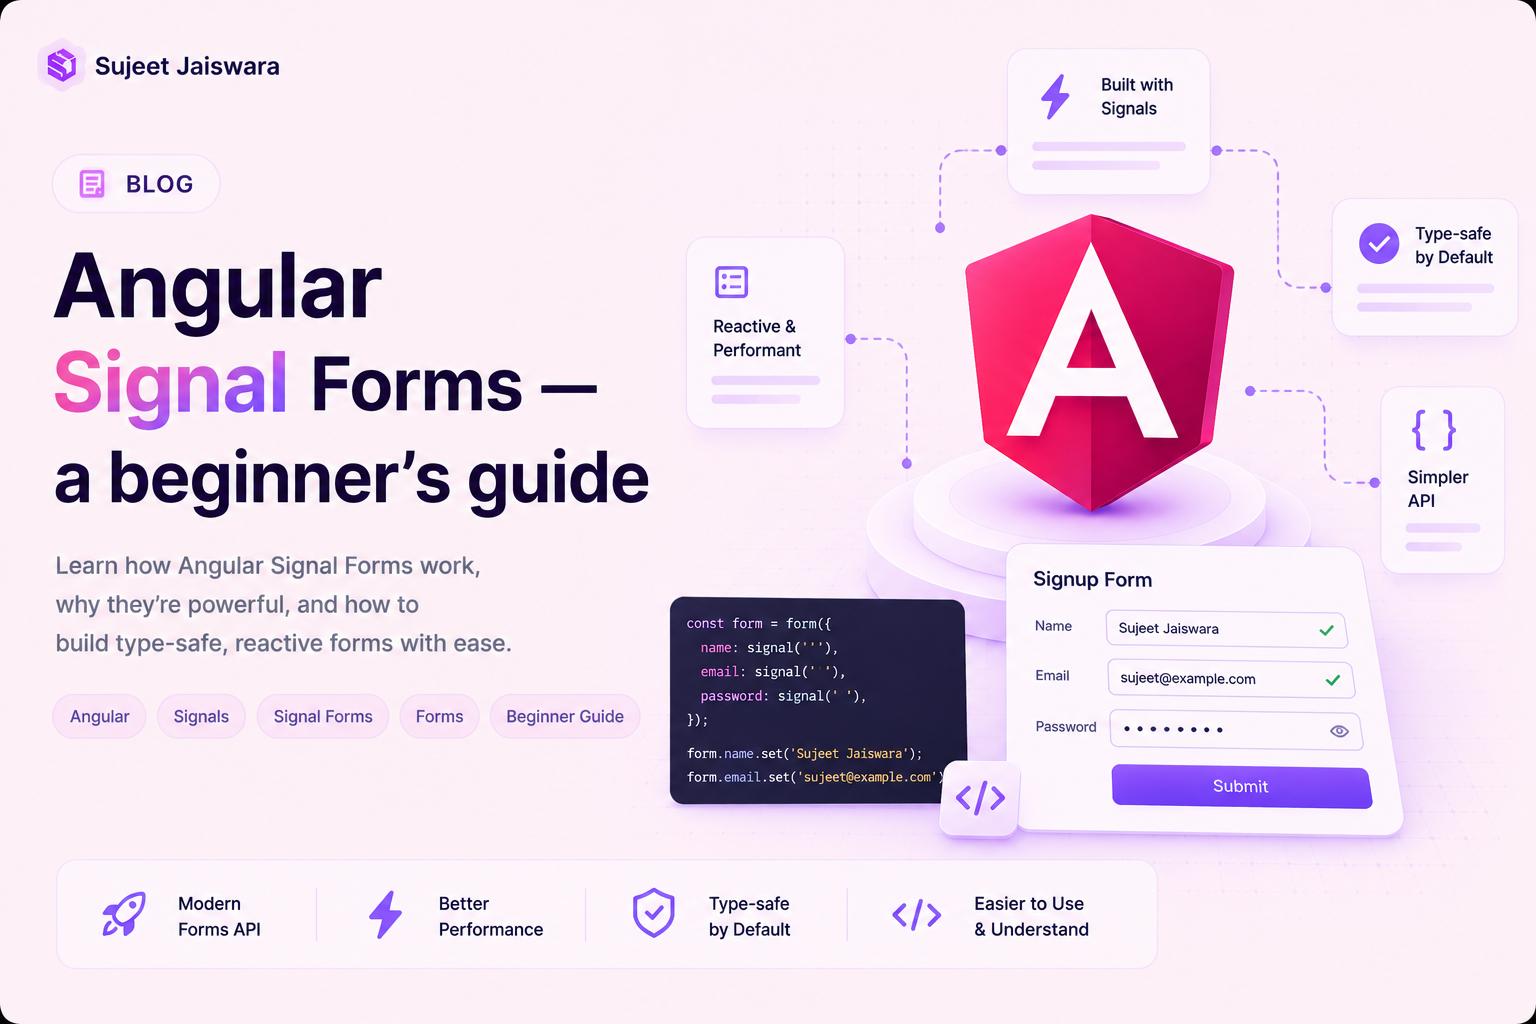
Angular Signal Forms — a beginner's guide
Angular forms used to mean a choice: template-driven (simple, but loosely typed) or reactive
(FormControl/FormGroup — powerful, but plenty of boilerplate). Signal Forms is a third option
that drops both. You start from a plain signal holding your data, wrap it in form(), and bind fields
straight to inputs. Validation, dirty/touched state, and errors all fall out as signals you can read
anywhere.
Signal Forms ships from
@angular/forms/signalsand is stable as of Angular v22 (it landed experimental in v21). For new forms on v22+, it’s a production-ready choice.
The mental model
Three pieces, that’s it:
- A model signal —
signal({...})holding your form’s data. form(model, schema)— wraps the model and returns a form object. The optional schema function declares validation rules.[formField]— a directive (imported asFormField) that binds one field to a native input, wiring value and state in both directions.
Every field exposes its state as signals: .value(), .valid(), .invalid(), .touched(), .errors(). No subscriptions, no valueChanges — read them in templates or computed() directly.
Step 1 — A minimal form
Start with just a model and a binding. No validation yet:
import { Component, signal } from '@angular/core';
import { form, FormField } from '@angular/forms/signals';

@Component({
	selector: 'app-profile',
	imports: [FormField],
	template: `
		<label>
			Name
			<input [formField]="profileForm.name" />
		</label>

		<p>Hello, {{ profileForm.name().value() }}</p>
	`
})
export class Profile {
	profileModel = signal({ name: '' });
	profileForm = form(this.profileModel);
}
Type into the input and the <p> updates — profileForm.name().value() is a signal tracking the
field. The model signal stays the single source of truth.
Step 2 — Add validation
Pass a schema function as the second argument to form(). It receives a path object; apply built-in
validators (required, email, minLength, min, max, …) to each field:
import { Component, signal } from '@angular/core';
import { form, FormField, required, email, minLength } from '@angular/forms/signals';

@Component({
	selector: 'app-login',
	imports: [FormField],
	template: `
		<form (submit)="onSubmit($event)">
			<label>
				Email
				<input type="email" [formField]="loginForm.email" />
			</label>
			@if (loginForm.email().touched() && loginForm.email().invalid()) {
				<span class="error">{{ loginForm.email().errors()[0].message }}</span>
			}

			<label>
				Password
				<input type="password" [formField]="loginForm.password" />
			</label>
			@if (loginForm.password().touched() && loginForm.password().invalid()) {
				<span class="error">{{ loginForm.password().errors()[0].message }}</span>
			}

			<button type="submit" [disabled]="loginForm().invalid()">Sign in</button>
		</form>
	`
})
export class Login {
	loginModel = signal({ email: '', password: '' });

	loginForm = form(this.loginModel, (path) => {
		required(path.email, { message: 'Email is required' });
		email(path.email, { message: 'Enter a valid email address' });

		required(path.password, { message: 'Password is required' });
		minLength(path.password, 8, { message: 'Password must be at least 8 characters' });
	});

	onSubmit(event: Event) {
		event.preventDefault();
		if (this.loginForm().valid()) {
			console.log('Submitting', this.loginModel());
		}
	}
}
Note the guards: touched() && invalid() shows the error only after the user has interacted with the
field, not on first paint. The submit button reads loginForm().invalid() — call the form itself to
get whole-form state.
Step 3 — Submitting
For the common case, the validity check above is enough. Signal Forms also ships a submit() helper
that marks every field as touched and then runs your async action only when the form is valid:
import {form, submit} from '@angular/forms/signals';

onSubmit(event: Event) {
  event.preventDefault();
  submit(this.loginForm, async () => {
    await this.auth.login(this.loginModel());
  });
}
Field state cheat sheet
Every field is a signal-returning function — call it, then read the state signals:
| Read this | Tells you |
|---|---|
form.field().value() | Current value |
form.field().valid() | Passes all validators |
form.field().invalid() | Fails at least one validator |
form.field().touched() | User has focused then blurred the field |
form.field().errors() | Array of error objects (.message, .kind, …) |
form().valid() / .invalid() | Whole-form validity |
Because these are plain signals, you can compose them — drop a computed() over errors(), gate a
button on form().invalid(), or drive a progress bar off field state, all without manual wiring.
Where Signal Forms fits
- Template-driven — fine for tiny forms, but weak typing and logic that hides in the template.
- Reactive forms — battle-tested; still fully supported and a fine choice for existing code.
- Signal Forms — the typed model and declarative validators of reactive forms, expressed as signals, with far less ceremony. Stable on Angular v22+ and the recommended default for new forms.
If you’re already writing signals-first Angular — signal, computed, inject(), @if/@for —
Signal Forms is the forms layer that matches. The official Signal Forms guide covers the rest, including
schema reuse, cross-field validation, and migrating reactive forms incrementally.
Wrap-up
The whole loop: hold data in a signal, wrap it with form(), declare validators in the schema,
bind inputs with [formField], and read .valid() / .errors() / .touched() straight off each
field. No FormControl, no subscriptions — just signals end to end.